A flexible food pouch can look correct and still fail after filling or during distribution. A weak final seal may open under load. A channel leak may allow oxygen or moisture to enter. Poor lamination may develop bubbles or separation. An incorrect zipper position may stop a filling machine. Carton vibration can turn a small weakness into a customer complaint weeks after shipment.
Effective flexible packaging quality control connects an approved specification to material confirmation, printing, lamination, pouch making, functional testing, packing, and final shipment checks. The purpose is not to perform every available laboratory test. It is to identify the failure modes that matter for the product and control them with suitable, documented checks.
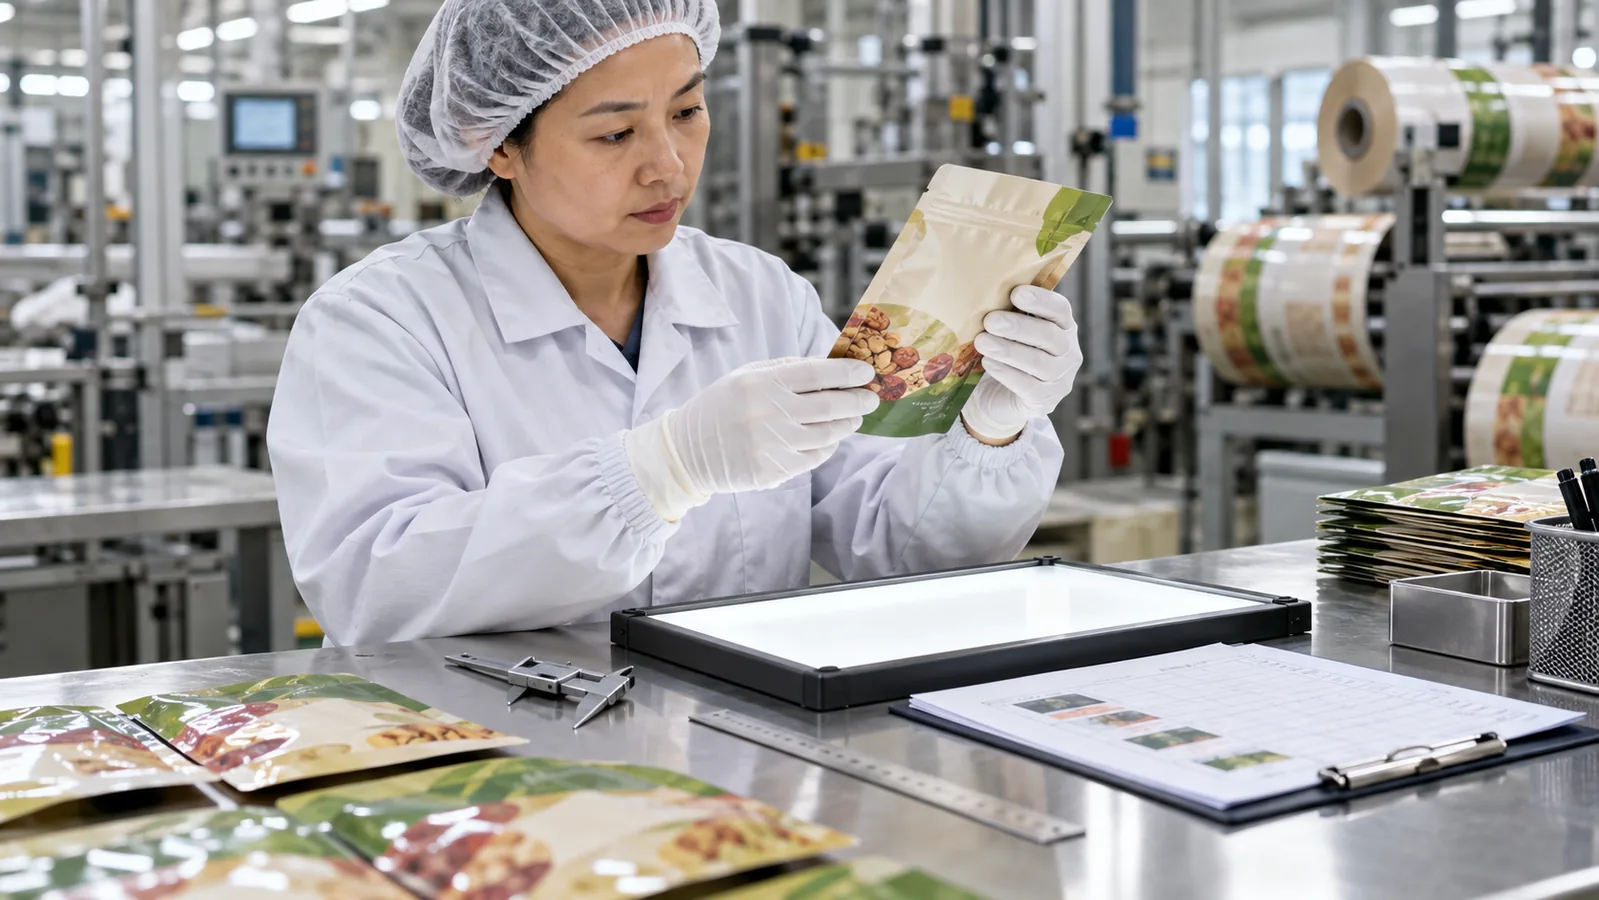
Flexible packaging quality control connects the approved specification with in-process checks and final packing.
At FULL PACKING, materials, artwork and printing, lamination and curing, pouch making, and final packing are reviewed against confirmed project requirements. Additional test methods and acceptance criteria depend on the package, product, filling process, destination market, and customer agreement.
Define acceptable quality before production
“High quality,” “strong seal,” and “correct color” are not measurable purchase requirements. Before production, the buyer and supplier should confirm which reference, tolerance, inspection method, sample size, and decision rule apply to each important characteristic.
A controlled packaging specification may include:
Attach the approved specification to the order or control it in another agreed document system. When a parameter changes, issue a clear revision. Do not rely on an isolated chat message as the only record.
- Approved drawing, dimensions, seal widths, and tolerances
- Material structure and nominal thickness
- Artwork file and revision, print side, finish, and color reference
- Zipper, valve, spout, tear notch, hang hole, window, and corner details
- Functional requirements for seals, leakage, opening, or filled-pack handling
- Food-contact documentation required for the intended use and destination market
- Quantity tolerance, inner packing, carton labels, and traceability
- Defect categories, sampling, and lot-acceptance rules
1. Confirm raw materials and package structure
Quality starts before printing. Confirm that the films, foil, paper, sealant, adhesive system, inks, and accessories match the approved construction.
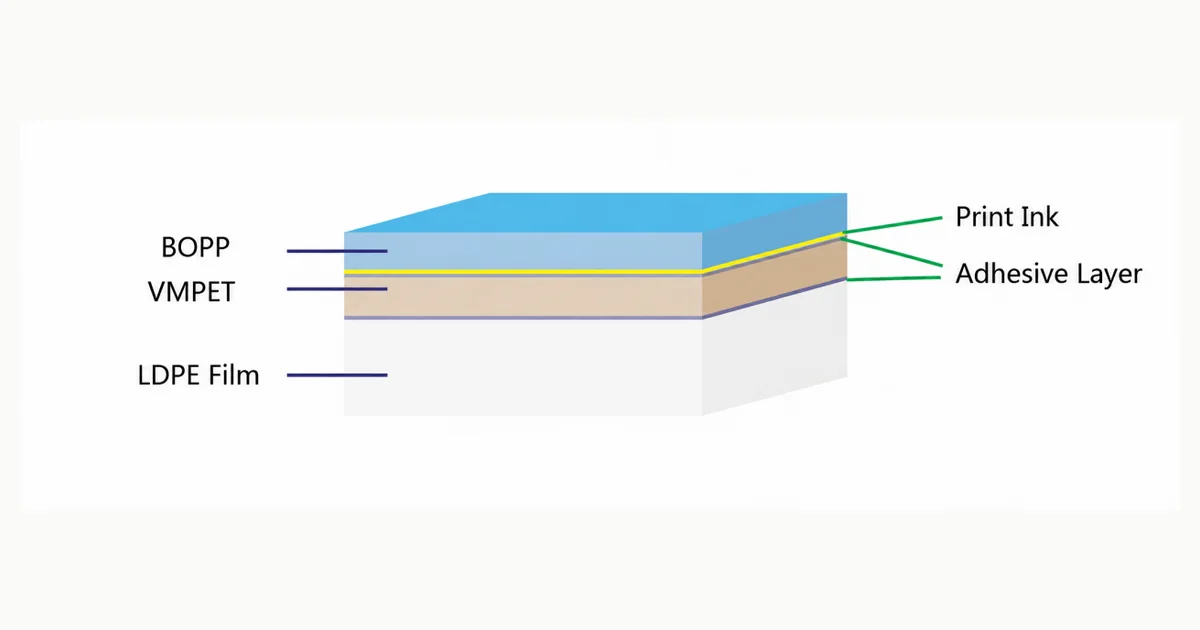
Each layer of a laminate has a function. An outer layer may support printing, stiffness, and mechanical strength. A middle layer may add oxygen, moisture, light, or puncture protection. The inner layer provides the food-contact and heat-seal surface.
Material confirmation can use supplier records, material labels, specifications, certificates, thickness or basis-weight measurements, and project-specific testing. The required depth depends on risk. A simple dry-food pack and a package exposed to heat processing do not require the same controls.
Do not treat a polymer name as a complete compliance statement. Resin grade, additives, inks, adhesives, intended food type, contact time, temperature, and destination-market rules matter. Ask for documents relevant to the proposed structure and use.
2. Check thickness and dimensions
Film or laminate thickness affects stiffness, sealing response, yield, puncture resistance, and cost. Total thickness alone does not show the gauge of each layer, but it remains a useful production-control characteristic when measured by an agreed method.
For finished pouches, critical dimensions may include:
A small dimensional difference can matter when a pouch must fit grippers, vacuum cups, a filling nozzle, sealing jaws, a labeler, or a fixed carton. Measurements should be taken from representative samples across the production run—not from one conveniently selected pouch.
- Overall width and height
- Bottom or side gusset
- Side, bottom, and top seal widths
- Zipper position
- Tear-notch and hang-hole position
- Valve or spout location
- Opening width and final sealing area
3. Verify artwork, registration, and color
Printing inspection starts with identity. Confirm that the correct artwork revision is printed on the correct material and print side. Check product name, barcode, orientation, legal panels supplied by the customer, repeat length, and SKU separation.
A digital proof confirms content and layout, but it does not perfectly predict production color or finish. The approval process should identify the reference: an approved proof, signed press sample, physical color standard, or agreed instrumental tolerance where appropriate.
Check registration where colors, varnishes, windows, or special effects meet. Also consider scuffing and ink or coating adhesion when packages will rub against each other, machine guides, or cartons. Matte and soft-touch surfaces may behave differently from standard gloss laminates.
4. Review lamination and curing
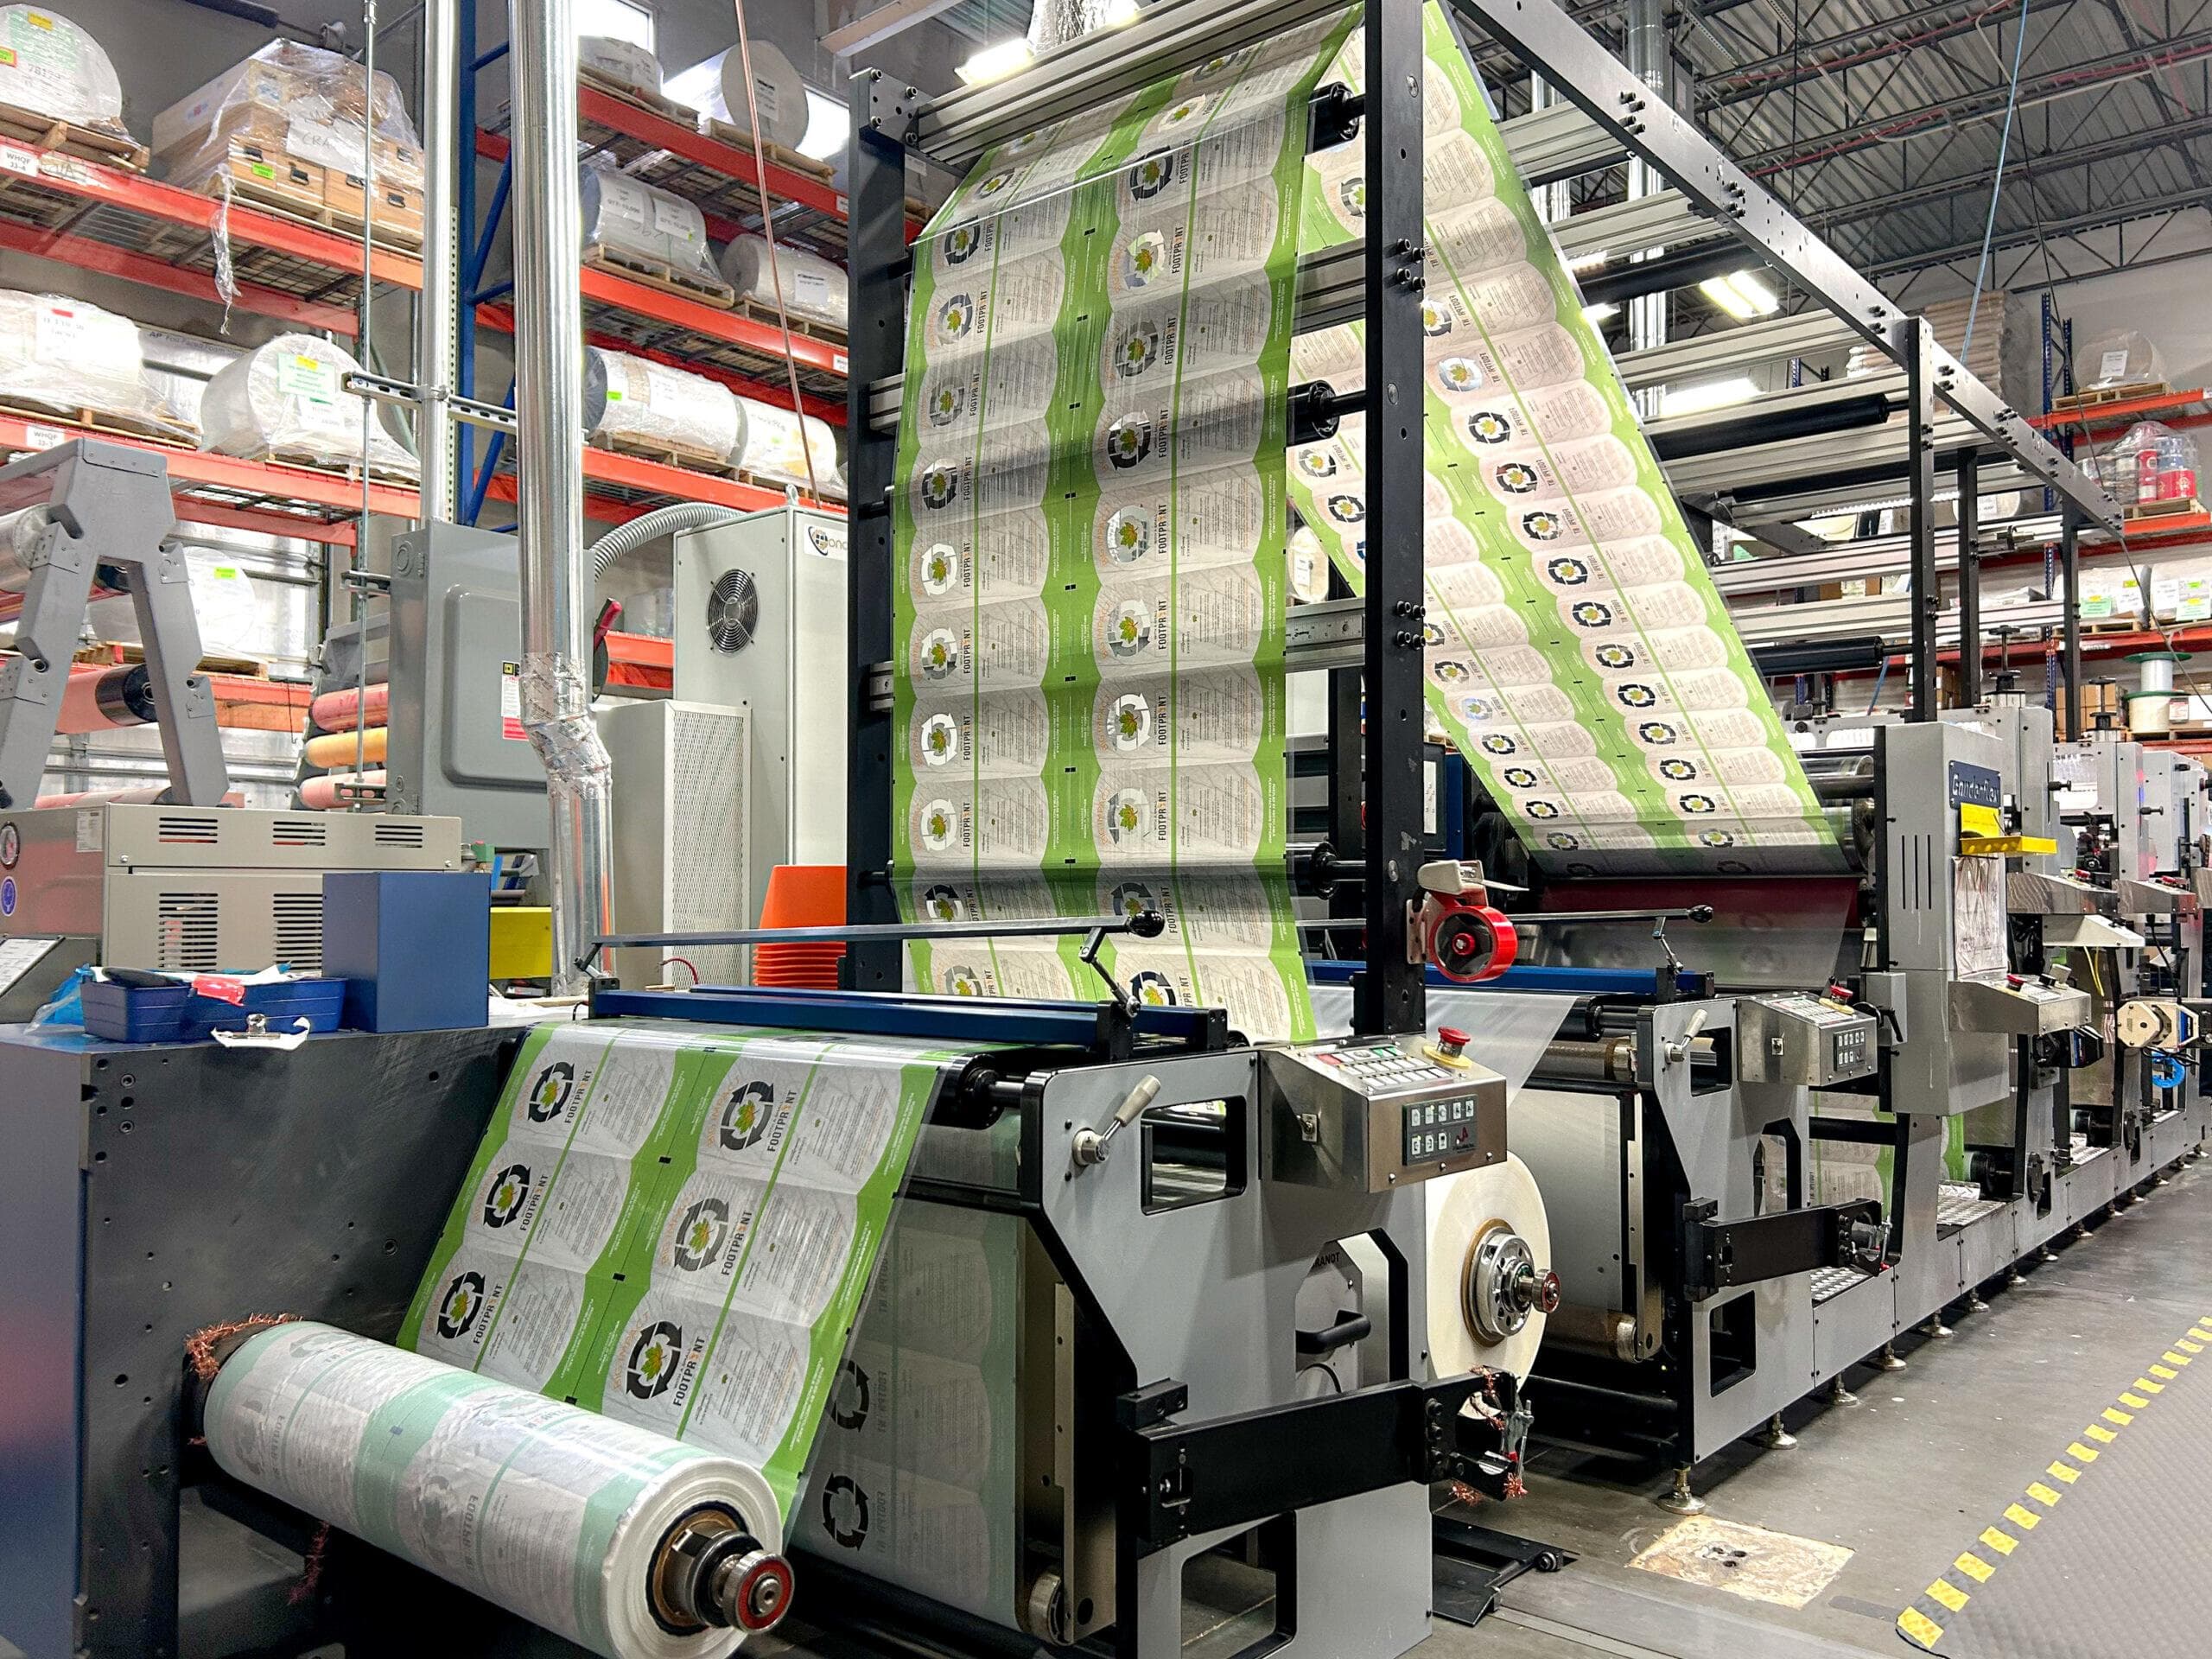
Lamination combines the layers into one functional structure. Visual checks should look for bubbles, wrinkles, curl, tunneling, contamination, incomplete bonding, and obvious delamination.
Adhesive preparation, coating, drying, web tension, and curing conditions influence the result. A laminate may require a defined curing period before pouch conversion or final evaluation. The timing depends on the adhesive system and validated production instructions.
Where bond strength is a critical requirement, use an agreed test method and define sample direction, conditioning, specimen width, speed, and acceptance criterion. A bond-strength number without its method and conditions is difficult to interpret.
5. Inspect pouch-making quality
Visual inspection is useful when it follows consistent criteria. Finished pouches should be checked for:
Reference samples or a defect board can help the buyer, factory, and third-party inspector classify defects consistently. For important appearance requirements, define lighting, viewing distance, and inspection frequency.
- Correct shape and symmetry
- Clean, continuous seals without folds, burns, channels, or contamination
- Even gusset formation and bottom alignment
- Zipper alignment, closure, and attachment
- Correct tear-notch location and controlled opening path
- Clean die cutting and rounded corners where specified
- Correct valve or spout position
- Absence of pinholes, scratches, foreign matter, and unacceptable surface damage
6. Evaluate seal strength where required
Seal strength measures the force required to separate a sealed specimen under defined conditions. It can support process development and consistency monitoring. ASTM F88/F88M is a widely referenced method for flexible barrier materials and highlights the importance of consistent specimen handling and test configuration.
The result should be reported with its context:
A specimen may peel at the seal, tear through the film, or delaminate. These failure modes provide different information.
The pouch manufacturer's side and bottom seals and the food packer's final top seal are separate control points. The packer should establish suitable sealing conditions for the actual equipment, material, product, and speed.
- Specimen width and direction
- Conditioning
- Test speed
- Tail-holding technique
- Maximum or average force, as specified
- Failure mode

7. Use an appropriate leak or integrity check
Leak testing answers a different question from seal-strength testing. A seal can show substantial peel strength and still contain a small channel.
Depending on the package and objective, project teams may consider bubble emission, vacuum chamber, pressure decay, burst, dye penetration, or other methods. ASTM's packaging standards include methods for seal strength, gross-leak detection, burst testing, oxygen transmission, water-vapor transmission, and other characteristics.
The method must fit the package and decision. A procedure developed for a specific medical or porous package should not be copied into a food-pouch specification without confirming its applicability.
For a routine factory check, document sample preparation, pressure or vacuum, duration, sensitivity, and pass/fail rule. For a critical validation or disputed complaint, qualified laboratory testing may be appropriate.
8. Confirm the sealing window and hot performance
A material should seal consistently across a practical operating window, not at one carefully selected laboratory temperature.
Sealing performance depends on:
Hot tack describes the strength of a heat seal before it has fully cooled. It can be important on fast lines where the new seal carries product weight or mechanical stress immediately.
A film that seals well in a slow manual test may behave differently on a high-speed line. Powder, oil, crumbs, or moisture can further narrow the usable window. A production trial should reproduce realistic filling conditions.
- Temperature
- Pressure
- Dwell time
- Jaw pattern and alignment
- Line speed
- Cooling
- Product contamination in the seal area
9. Test closures and functional features
Every feature creates an additional control point.
A zipper should open and reclose without detaching or trapping excessive product. A tear notch should start a controlled tear without weakening the unopened pouch. A hang hole should support the filled pack through display handling. A spout and cap require checks appropriate to the design, such as fitment sealing, leakage, closing, tamper evidence, and dispensing.
For coffee valves, confirm the valve specification, position, attachment, and compatibility with the coffee packing process. For clear windows, confirm that the complete construction still provides suitable product protection.
Use normal consumer handling during evaluation. A feature that works only for a trained technician may still create a poor customer experience.
10. Conduct filled-package handling trials
An empty pouch is only one part of the packaging system. Fill production-equivalent pouches with the actual product to the target weight, close them on the intended equipment, and expose them to relevant handling.
Depending on risk, evaluation may include:
Define the conditions and acceptance criteria before testing. Inspect seals, corners, gussets, fitments, and neighboring packs afterward.
The primary pouch and shipping carton should be treated as a system. A pouch may survive a bench test but fail after vibration causes abrasion at a fold. Excess carton space can allow repeated impacts, while excessive compression can load seals or deform closures.
- Drops in defined orientations
- Compression or stacking
- Vibration
- Low- or high-temperature conditioning
- Freezer handling
- Carton pack-out and palletization
- Repeated opening and reclosure
11. Run the package on the filling line
A production-equivalent line trial provides evidence that cannot be obtained from a desk review.
Before the trial, confirm:
For rollstock, also confirm web width, unwind direction, repeat length, eye mark, forming dimensions, and roll limits.
Record the results: speed, stoppages, misfeeds, opening failures, seal rejects, product contamination, scrap, and operator observations. “It ran well” is not enough information for a repeat order.
Define the checks before production begins. Send your product, pouch type, dimensions, material or barrier target, filling process, quantity, and destination market. Contact FULL PACKING to discuss a project-specific specification and sample route.
- Pouch orientation and pickup area
- Opening method and clear mouth width
- Gripper or vacuum-cup position
- Filling nozzle clearance
- Zipper, valve, or spout clearance
- Product-drop timing
- Clean final sealing area
- Coding and inspection location
- Discharge and carton handling
12. Complete final packing and shipment checks
Final inspection verifies sampled finished goods against the approved order—not against a generic checklist.
Checks may include:
The sampling plan should state how units are selected and how critical, major, and minor defects affect acceptance. A random inspection does not mean every unit has been tested.
Photographs and records should connect the inspection to the lot released. Retained samples can support comparison if a later question arises.
- Purchase order, SKU, artwork revision, and lot identity
- Finished quantity and packing quantity per carton
- Dimensions and workmanship
- Print and finish comparison
- Zipper, valve, spout, and other features
- Selected functional checks agreed for the order
- Inner wrapping, cartons, labels, and palletization
- Retained samples and traceability information

Common defects and first investigation steps
This table supports investigation; it does not prove root cause.
- Top-seal leak — Possible contributing factors: Product in seal, unsuitable settings, jaw damage, or incorrect sealant; First checks: Inspect seal area and verify settings, jaw condition, and material identity
- Side-seal channel — Possible contributing factors: Fold, contamination, uneven heat or pressure, or converting setup; First checks: Compare samples across the run and perform an appropriate integrity check
- Delamination — Possible contributing factors: Adhesive, curing, chemical compatibility, heat, or flexing; First checks: Review lot, cure records, product exposure, storage, and bond behavior
- Pinhole after shipment — Possible contributing factors: Sharp product, flex cracking, abrasion, or inadequate toughness; First checks: Map damage location and review product edges, carton movement, and structure
- Pouch does not stand — Possible contributing factors: Size, gusset, trapped fold, fill distribution, or high center of gravity; First checks: Conduct a filled stability check and inspect gusset opening
- Zipper is difficult to close — Possible contributing factors: Product contamination, misalignment, unsuitable profile, or carton compression; First checks: Clean and cycle the zipper; measure position and review packing pressure
- Print scuffing — Possible contributing factors: Surface or ink mismatch, cure, friction, or carton abrasion; First checks: Inspect contact points and use an agreed rub or adhesion assessment
How to investigate a packaging complaint
Protect evidence first. Request unopened failed samples, good comparison samples, outer cartons, lot codes, defect photographs, filling and sealing settings, storage history, and the stage at which the problem appeared.
Separate containment from root-cause analysis. Containment may involve holding related stock or increasing inspection. Root-cause analysis then evaluates material production, printing, lamination, pouch conversion, transport to the filler, filling and sealing, filled-product distribution, and end use.
Avoid deciding from one photograph. Delamination near a leak, for example, may be the cause, a result of product exposure, or unrelated. Compare failure locations, lot patterns, records, and test results.
A corrective action should identify what changes, who owns it, when it takes effect, and how effectiveness will be verified.
Frequently asked questions
What is the most important test for a food pouch?
There is no single universal test. Seal integrity is often important, but barrier, puncture, filling, temperature, closures, and distribution may also control performance. Start with the failure risks of the actual product and package.
Does a leak test replace a seal-strength test?
No. Leak testing looks for loss of integrity under defined conditions. Seal-strength testing measures force and failure behavior. The two methods answer different questions.
Can a packaging supplier guarantee food shelf life?
Shelf life depends on food formulation, initial quality, hygiene, filling, residual oxygen, seal integrity, barrier, light, storage, and distribution. A packaging supplier can provide material and production information, but the food brand or manufacturer should validate the finished packaged product.
What should be checked before shipment?
Verify SKU and artwork, quantity, dimensions, print, seals, features, workmanship, packing, carton labels, traceability, and any functional checks agreed in the specification.
What food-contact documents should a supplier provide?
The required documents depend on the material, intended food type, contact time, temperature, and destination market. Confirm that each declaration or test report relates to the proposed construction and use rather than accepting an unrelated certificate.
How many samples should be tested?
Sample quantity depends on the test, lot size, process variation, risk, and acceptance plan. Define sampling before production. A few hand-selected pouches cannot characterize an entire lot.
Conclusion
Flexible packaging quality is created throughout the process and verified with evidence. A reliable system connects an approved specification to material confirmation, print and lamination checks, pouch-making inspection, seal and integrity evaluation, filled-package trials, filling-line preparation, and shipment release.
Clear criteria help buyers compare suppliers, help production teams control variation, and make complaints easier to investigate. The right plan is project-specific: it applies the checks that matter to the product instead of using unsupported claims or unnecessary tests.
Discuss Your Custom Packaging Requirements
Share your food application, pouch format, dimensions, material or barrier needs, filling conditions, quantity per SKU, destination market, and required checks. FULL PACKING will review the information and help define the next specification, sample, or quotation step.
Send Your Requirements | Learn About FULL PACKING
Technical references
- ASTM F88/F88M — Seal Strength of Flexible Barrier Materials
- ASTM packaging standards overview
- US FDA information on food-contact substances and packaging