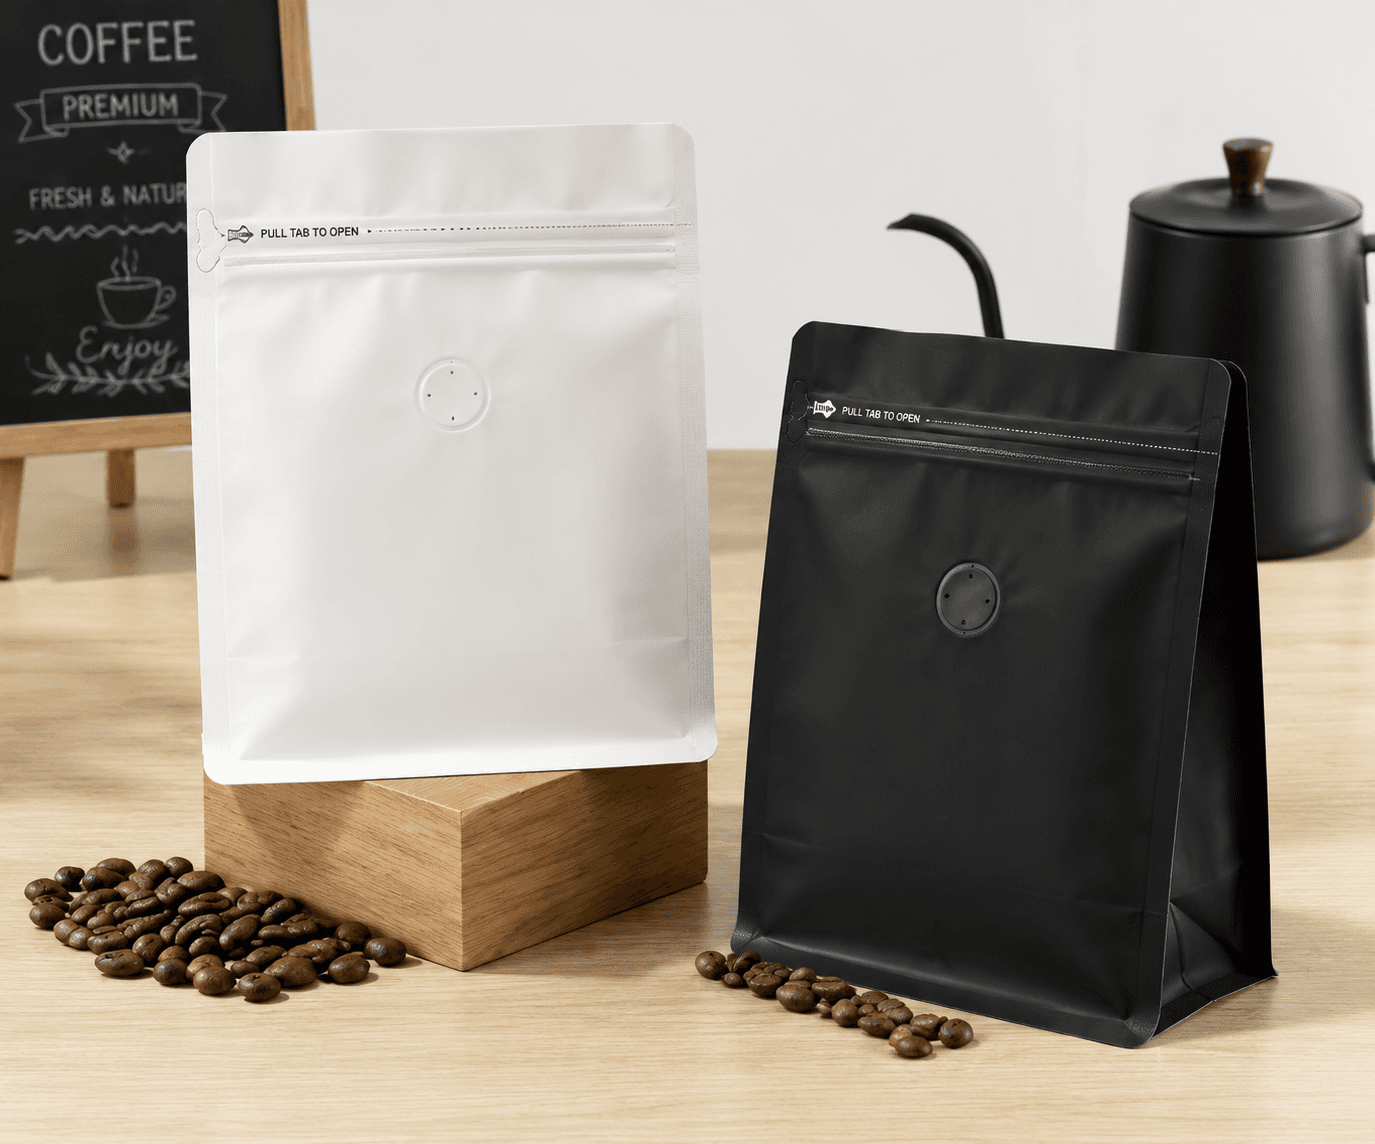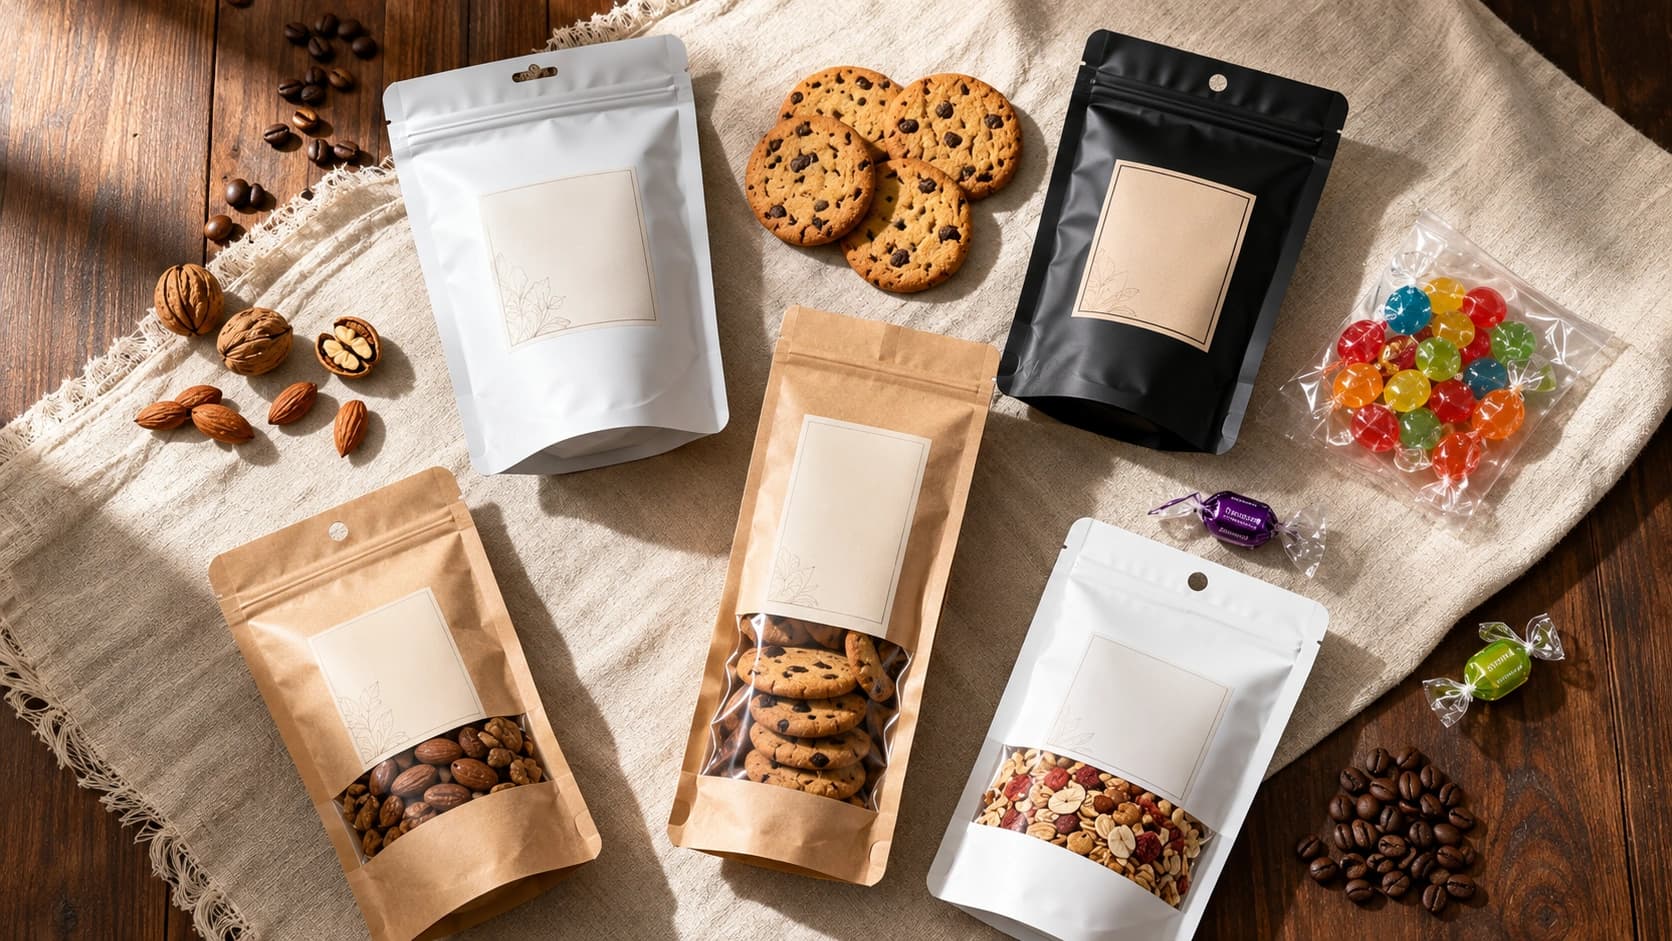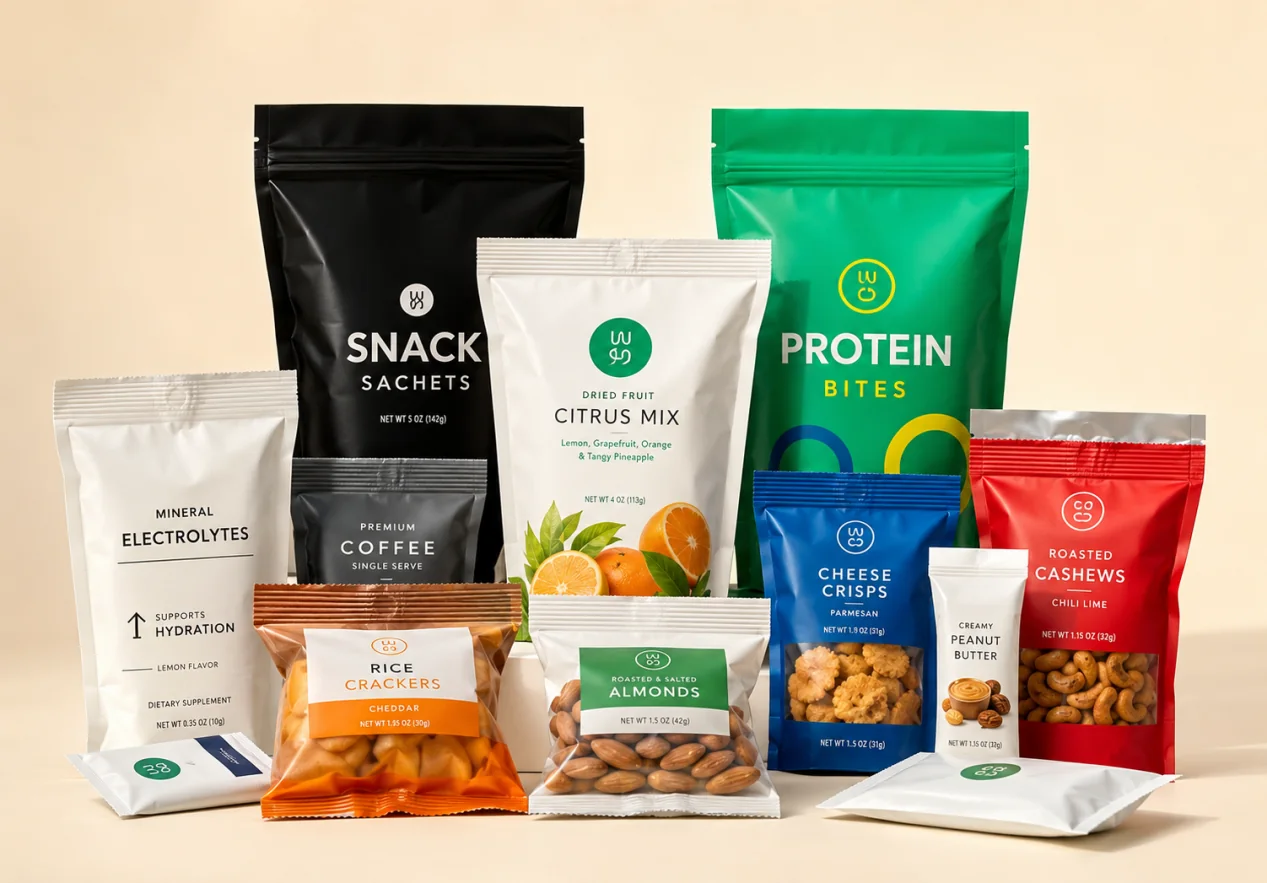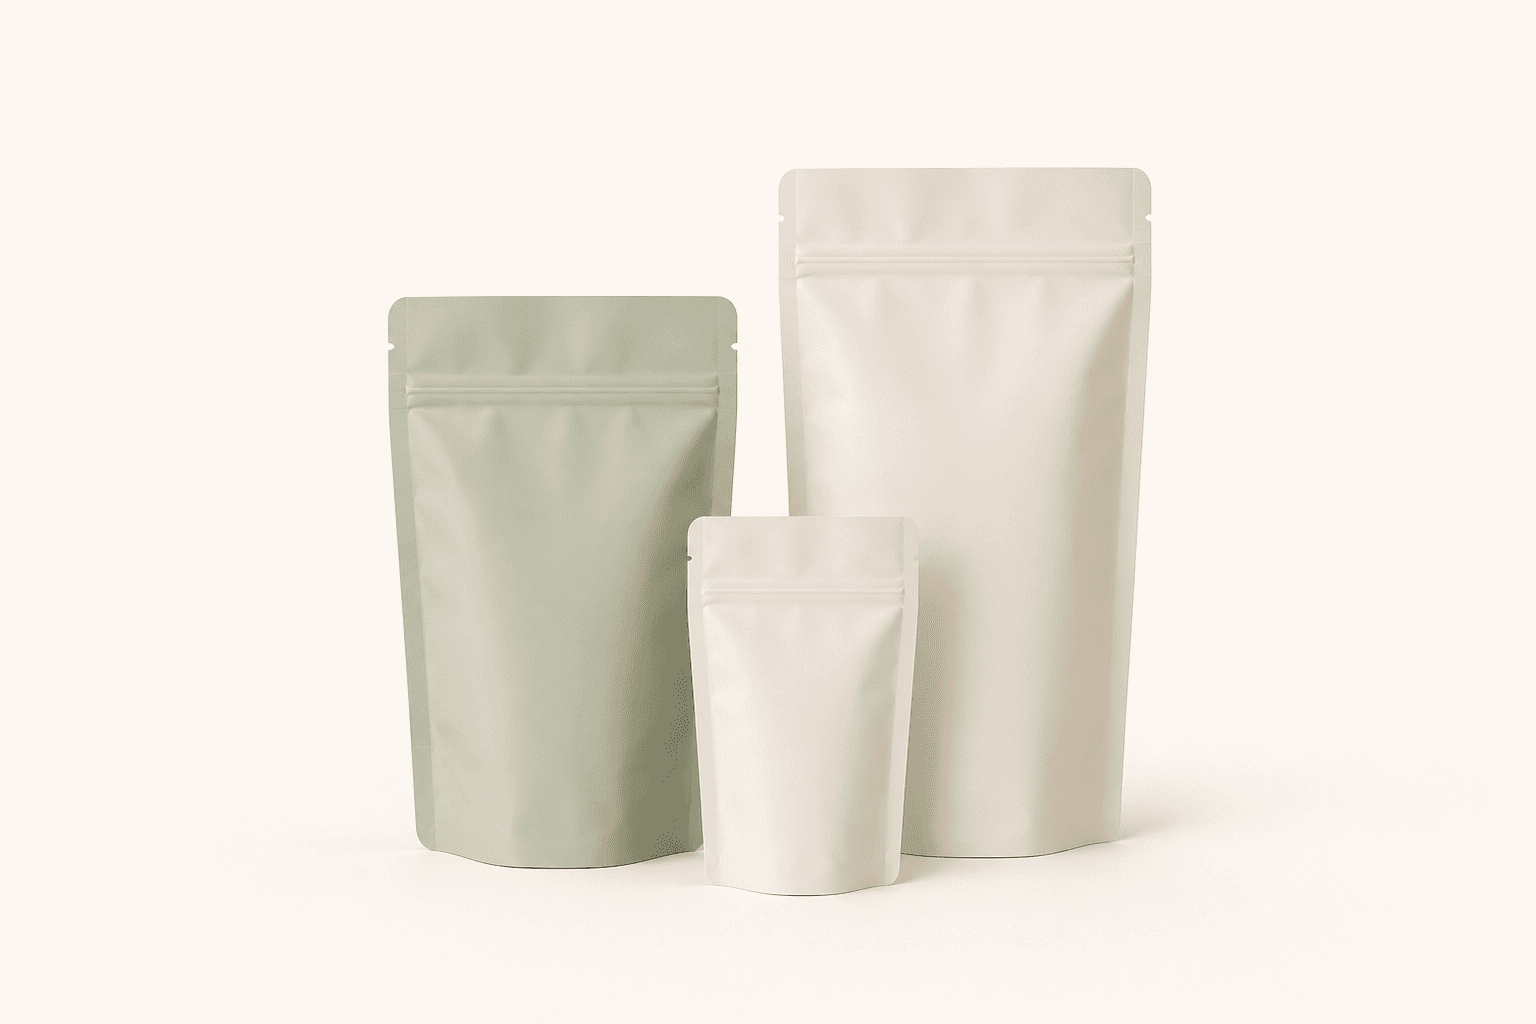
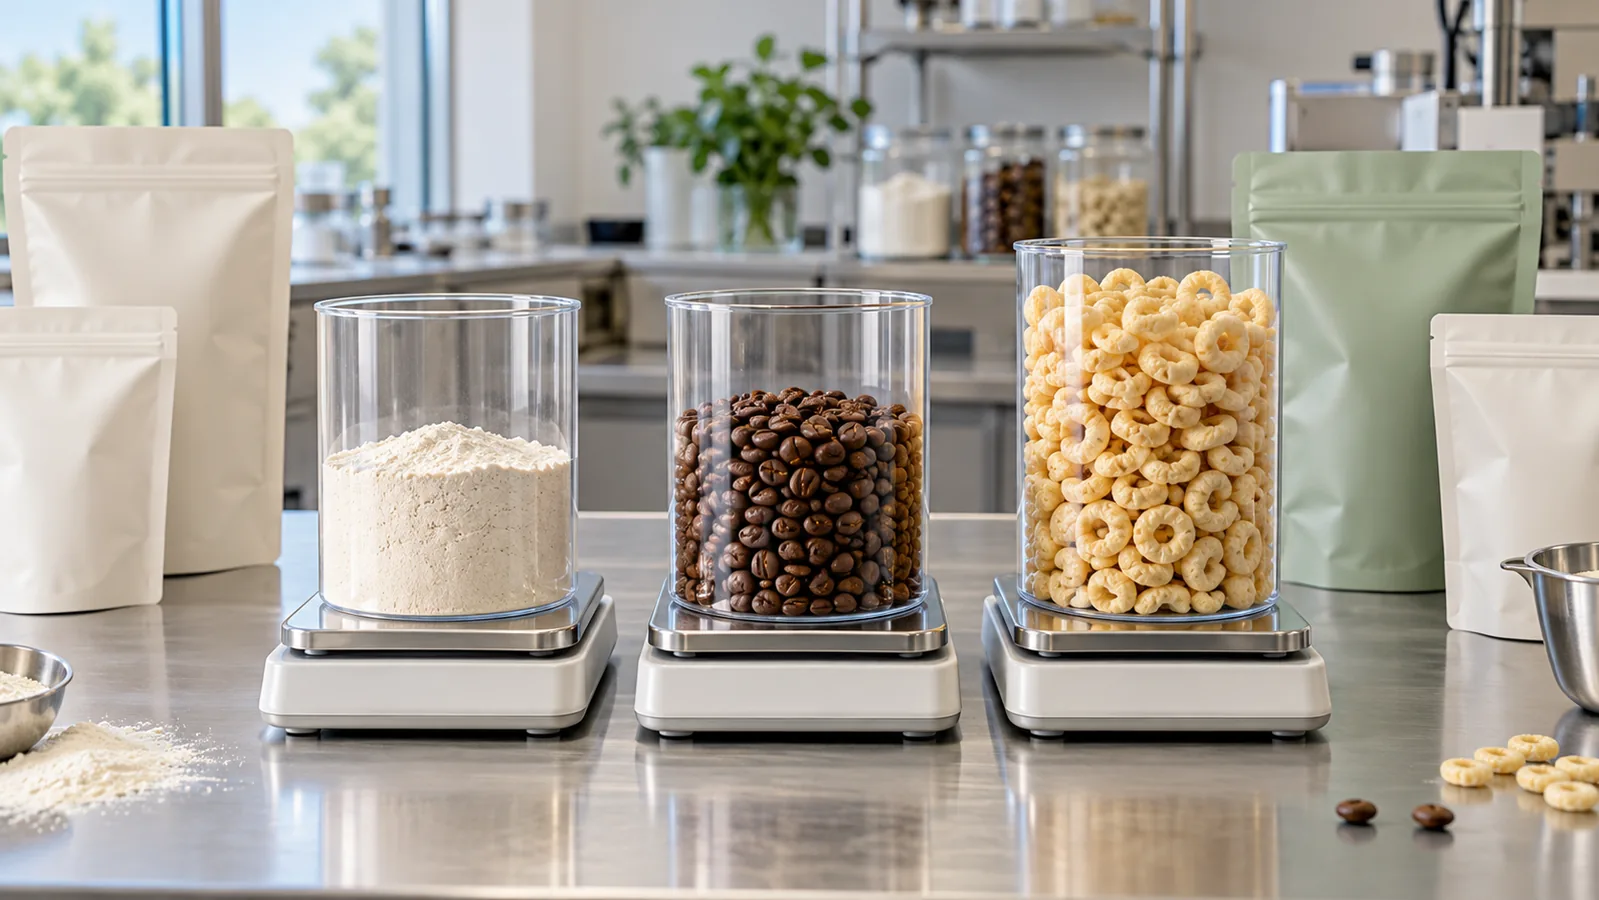
“What pouch size do I need for 500 grams?” sounds like a simple question, but weight does not determine pouch size by itself. Five hundred grams of flour, coffee beans, granola, nuts, gummies, and sauce occupy different volumes and behave differently during filling.
To size a custom food pouch, convert the target fill weight into actual product volume using measured bulk density, add practical space for filling and sealing, select a format and opening that suit the process, and validate the dimensions with a physical fill test on the intended equipment. A generic capacity chart can provide a starting range, but it should not be the final approval.
Equal weights of different foods can occupy very different volumes, so sizing starts with the actual product.
This guide provides a repeatable sizing process for food brands, distributors, and manufacturers developing custom flexible packaging.
Why the same weight needs different pouch sizes
Volume is the space a product occupies. Bulk density is the product mass divided by its bulk volume, including spaces between particles.
The basic relationship is:
Product volume = target fill mass ÷ measured bulk density
If a product has a measured bulk density of 0.50 g/mL, then 500 g occupies approximately 1,000 mL before headspace and process allowances. If another product has a bulk density of 0.25 g/mL, the same 500 g occupies approximately 2,000 mL.
This calculation is a screening tool, not a finished pouch specification. Products settle during vibration, become aerated during filling, bridge across openings, expand after processing, or contaminate the sealing area. Flexible-pouch capacity also changes with gusset geometry, seal width, film stiffness, and the shape of the filled package.
Step 1: create a product profile
Collect the information that affects volume, material selection, and package behavior:
Measure bulk density consistently. Use a container with a known volume, fill it using a method that resembles production, level it without arbitrary compression, and weigh the product. Repeat the measurement.
If normal production vibration causes substantial settling, record both loose-filled and settled volume. For mixed products, examine variation as well as the average. A granola blend may segregate, leaving large pieces at the top even when its average density appears consistent.
- Product name and formulation category
- Target net weight and fill tolerance
- Bulk density in the condition used for packing
- Particle dimensions, shape, and sharpness
- Flowability, dust, static, and tendency to bridge
- Oil, grease, moisture, acidity, alcohol, or aroma characteristics
- Fill temperature and any hot-fill, pasteurization, freezing, or retort process
- Target shelf life and storage temperature
- Gas flushing, vacuum, oxygen absorbers, or other packing processes
Step 2: distinguish external dimensions from usable volume
The outside width and height include areas that cannot hold food. Side seals, bottom seals, zipper tracks, tear-off headers, top-seal allowances, rounded corners, valves, and gusset folds reduce the usable space.
Ask the pouch drawing to identify:
Two pouches with the same external width and height can have different capacity because their seals, gussets, and closures differ. Material stiffness also affects how fully the pouch opens and how it holds its shape.
Do not approve a size from outside dimensions alone. Review a dimensioned drawing and test a physical sample.
- Overall width and height
- Side- and bottom-seal widths
- Bottom or side gusset and fold position
- Zipper profile and centerline
- Tear-notch and hang-hole position
- Top trim and final sealing zone
- Valve or fitment position
- Safe artwork area
Step 3: add functional headspace
Headspace is the unfilled space above the product. It is not necessarily wasted space. It may be required to:
There is no universal headspace percentage for every food pouch. A clean-flowing candy and a dusty protein powder create different requirements. A snack pack may intentionally retain gas, while an ingredient sachet may be compact.
During a trial, observe the product level immediately after filling and after expected settling. Confirm that the line can maintain a clean, flat sealing zone under normal variation—not only when one sample is filled slowly by hand.
- Keep food away from the final sealing area
- Allow the pouch to enter sealing jaws
- Accommodate normal fill variation
- Complete gas flushing or vacuum steps
- Provide space for a zipper or tear-off header
- Protect fragile snacks with a gas cushion
- Make the pouch easier to open, pour, or reclose
Step 4: select a pouch format
Format changes capacity, opening, stability, display, and packing efficiency.
Stand-up pouch
A stand-up pouch uses a bottom gusset to create volume and a standing base. It is a strong starting format for snacks, nuts, dried fruit, powders, confectionery, coffee, and other retail foods.
Capacity depends on how fully the gusset opens. For a narrow, tall pack, check stability. For a lightweight product, confirm that the fill opens the gusset. For a heavy product, review bottom seals and drop behavior. A zipper and tear-off header reduce usable height.
Flat-bottom pouch
A flat-bottom pouch uses a rectangular base and side panels to create a structured package. It can provide a wide mouth and strong shelf presentation for coffee, tea, grains, premium snacks, powders, and pet food.
Sizing must account for the bottom panel, side gussets, and the way the panels form after filling. A dimension change also changes the artwork panels, so complete the physical sizing trial before final artwork approval.
Three-side-seal pouch
A three-side-seal pouch is flat and does not use a standing base. It can suit portions, samples, powders, snacks, frozen foods, and selected vacuum or liquid applications when the material and seals are appropriate.
Bulky contents can make the filled pack pillow-shaped, reducing its apparent height and pulling on the edges. Check filled dimensions and carton fit rather than evaluating only the flat pouch.
Side-gusset and back-seal formats
Side-gusset pouches expand laterally and can suit coffee and larger dry-food packs. Back-seal formats are common for snacks, powders, confectionery, and other dry foods.
When a pack is made from rollstock, its dimensions are closely linked to the forming equipment. Confirm forming-tube size, web width, print repeat, fin or lap seal, registration marks, and cutting position with the machinery team.
Step 5: size the pouch opening
The pouch mouth must accept the filling nozzle, chute, scoop, or product stream without excessive spillage or bridging. Nominal pouch width is not the same as clear opening width because side seals and zipper attachments occupy space.
Confirm:
For irregular foods, use the largest normal piece size rather than the average. For powders, consider opening width together with product-drop timing, dust extraction, and seal-zone cleaning.
- Maximum outside width of the filling nozzle or chute
- Gripper position and required side clearance
- Required opening distance
- Zipper restriction at the mouth
- Largest normal product piece
- Dust, oil, or crumbs that may reach the seal
- Consumer access for a scoop or controlled pour
Step 6: match the dimensions to the filling line
A pouch can hold the product and still fail on the machine. Prepare an equipment compatibility sheet covering:
For rollstock, add web width, core size, roll diameter and weight, unwind direction, print repeat, eye-mark specification, splice rules, and friction requirements where relevant.
Compare machine drawings and packaging requirements before ordering samples. A production trial should use the intended equipment and product. Record settings, speed, feed failures, product contamination, sealing results, and waste.
- Minimum and maximum pouch width and height
- Pouch pickup and opening method
- Gripper and vacuum-cup zones
- Zipper or fitment capability
- Seal-jaw width, pattern, pressure, temperature, and dwell time
- Required distance between the product and final seal
- Coding, labeling, and inspection-system locations
- Target line speed and acceptable rejects
- Checkweigher and discharge limitations
Step 7: account for material and processing conditions
Material structure affects pouch behavior. A thicker or stiffer laminate may hold panels differently from a softer PE-rich construction. Foil can provide strong barrier performance but may be vulnerable to flex cracking if repeatedly folded. Nylon can contribute toughness for demanding products. The sealant must suit the actual filling and process conditions.
Temperature is particularly important. Frozen products need materials and seals that remain functional at low temperature. Hot-fill and retort applications require structures validated for the actual time, temperature, pressure, product chemistry, and equipment.
Do not transfer dimensions directly from a room-temperature dry-food pouch to a thermal-process package without technical review.
Barrier performance must also survive forming and use. Creases, sharp food edges, valves, spouts, and seals can become weak points. Shelf-life validation should use the filled, finished package rather than relying only on flat-film transmission data.
Step 8: build physical prototypes
Use samples in stages so each sample answers the right question.
Stock samples
Use existing pouches to compare formats, closure types, material feel, and approximate scale. A stock sample does not validate your final capacity, barrier, print, or sealing conditions.
Custom-size blank samples
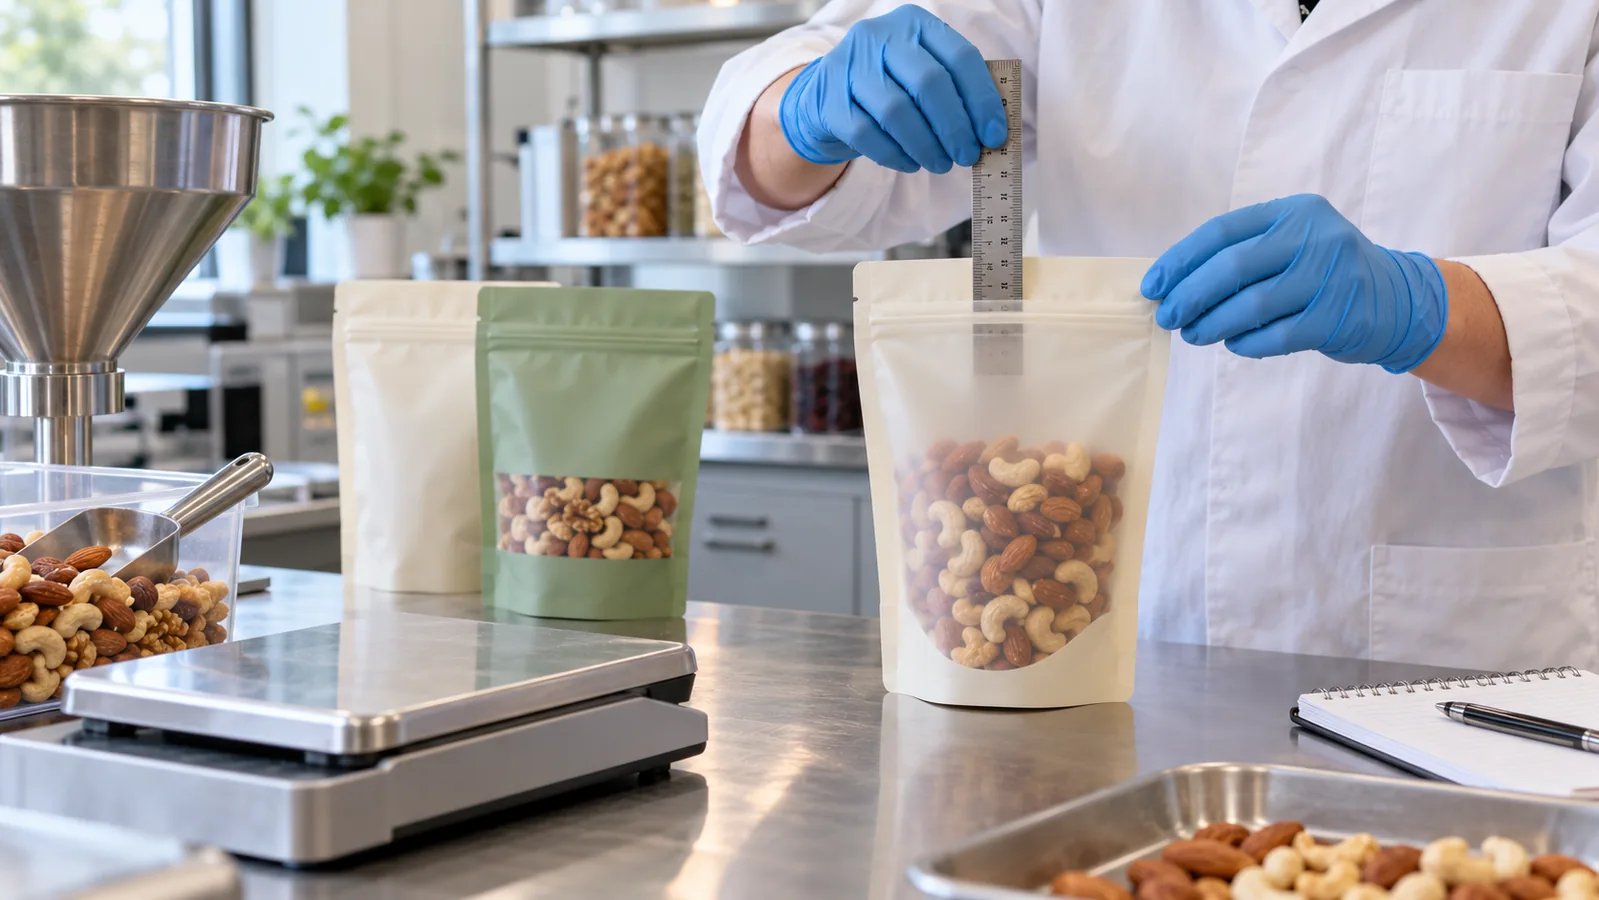
Use a blank sample to check fill volume, opening, headspace, standing stability, handling, carton fit, and shelf appearance. Record whether the blank uses the final structure; if not, do not use it to approve barrier or production sealing.
Production-equivalent samples
Use production-equivalent material when print, stiffness, barrier, fitments, sealing response, or machine performance must be validated. Confirm which parts of the final production process the sample represents.
A repeatable pouch fill test
Have a fill weight but no confirmed pouch size? Send the product, target weight, measured bulk density, preferred format, filling method, quantity per SKU, and current package dimensions. Contact FULL PACKING to discuss a practical sample and sizing route.
- Condition the food and pouches as they will be during packing.
- Identify and weigh the empty pouch.
- Fill it using the intended method and target net weight.
- Observe opening, bridging, dust, spills, and handling.
- Measure the product level and clean sealing space.
- Remove air or apply the planned gas process where relevant.
- Seal the pouch using intended settings and record them.
- Reweigh and measure the filled package.
- Photograph the front, side, top, and bottom.
- Check stability, opening, zipper, pouring, and reclosure.
- Pack the pouches into the proposed shipping carton.
- Conduct appropriate handling or integrity checks.
- Repeat with enough samples to expose normal product and process variation.
Worked sizing examples
The examples below show the decision process. They are not guaranteed pouch dimensions.
Example 1: 250 g roasted coffee beans
Coffee beans have relatively low and variable bulk density and can release carbon dioxide after roasting. Measure the beans used in production and document the roast-to-pack timing.
A flat-bottom or stand-up pouch may be shortlisted for shelf presentation and reclosure. Allow space for the final seal, zipper, tear-off header, and valve where used. Confirm that the valve does not interfere with artwork, carton contact, or sealing jaws.
Fill and store representative samples to review package shape, valve behavior, seal integrity, and carton packing. Do not infer shelf life from the pouch size or metallic appearance.
Example 2: 500 g protein powder
Measure loose and settled bulk density because aerated powder may occupy significantly more space immediately after filling. Observe dust and determine whether it reaches the zipper or top-seal area.
A wider mouth may improve filling and scoop access. Run the pouch on the intended filler and verify a clean sealing area at realistic speed. The customer's ability to scoop and reclose the product may be more important than minimizing every cubic centimeter.
Example 3: 1 kg nuts
Nuts vary in size and can create point loads. Measure the actual product mix and consider oil and oxygen sensitivity. A stand-up or flat-bottom format may provide retail convenience, but the structure and seals must withstand the filled weight and normal handling.
Test gusset opening, filled stability, zipper function, drops, and carton compression. If several products will share one pouch, validate the lowest-density and most irregular mix—not only the easiest SKU.
Example 4: 100 g seasoning
A three-side-seal pouch may offer a compact single-use format. Key questions include powder flow, opening width, seal contamination, tear behavior, and whether the consumer can empty the contents cleanly.
Do not remove headspace until the production line can consistently create a clean seal. A slightly taller pouch may reduce rejects and product waste enough to justify the additional material.
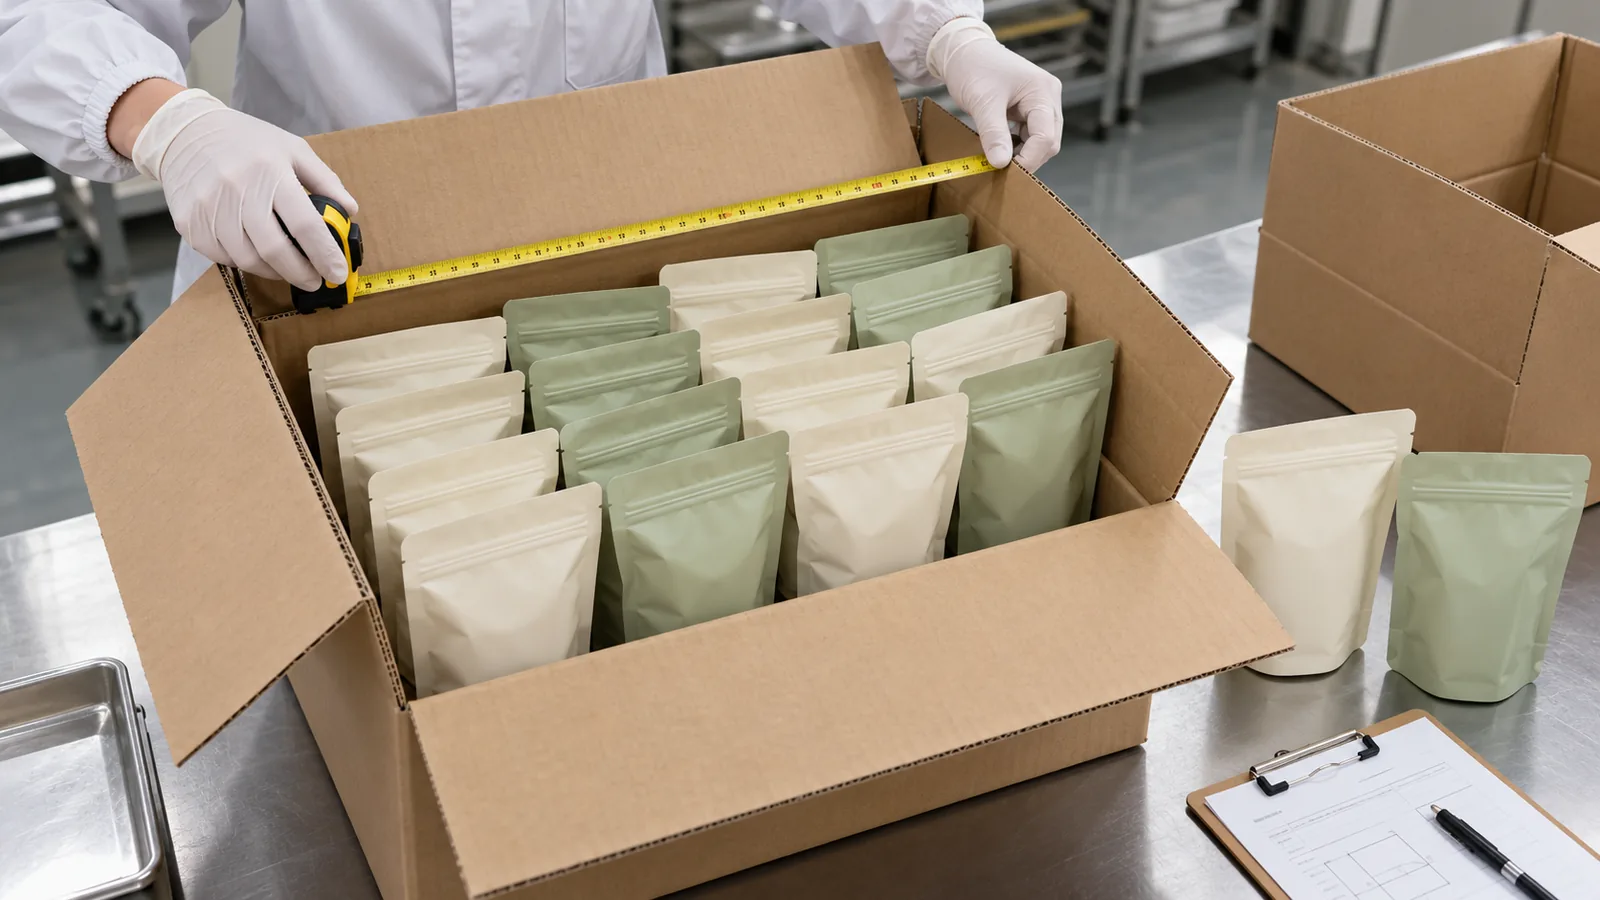
Check the carton and freight configuration
Pouch sizing affects the shipping system. Use filled prototypes to determine:
Do not compress pouches only to increase carton count. Excess pressure can deform closures, create abrasion, or load seals. Excessive empty space can allow movement and repeated impact.
For export shipments, compare actual and volumetric weight, pallet pattern, container use, and expected climate. A small dimension change may improve freight efficiency, but it should not compromise filling or consumer use.
- Pouches per row, layer, and carton
- Closure or spout nesting
- Empty space and movement
- Gross carton weight
- Compression on seals, zippers, or fitments
- Carton orientation and pallet efficiency
Finalize artwork after the size is approved
Do not finalize artwork until the dimensions, gusset, seals, zipper, tear notch, valve, and safe areas are confirmed on an approved dieline. Flexible panels bend and meet at seals; content that appears centered on a flat screen can shift visually after filling.
Print the dieline at 100% scale, assemble a mock-up, and fill it. Check:
The food brand remains responsible for the accuracy of its label and claims. Obtain qualified regulatory review for the destination market where required.
- Front-facing brand and product information
- Gusset and side-panel transitions
- Barcode position and scanning surface
- Opening and resealing instructions
- Variable coding area
- Required market-specific label content
Common pouch-sizing mistakes
Selecting from a generic capacity chart
Capacity charts use assumed products and conditions. Use them to identify a starting range, then test the actual food.
Using water to represent every product
Water does not reproduce the behavior of powders, irregular solids, foams, oils, or hot products. It also does not validate product and material compatibility.
Ignoring the final seal area
The packer needs clean material for the closing seal. A pouch that barely contains one careful hand-filled sample may leak or create rejects in production.
Ignoring normal batch variation
Density, particle size, and aeration can change. Design around a justified operating range rather than one ideal sample.
Testing by hand but producing by machine
Manual filling is slower and easier to control. A line trial exposes opening, gripping, dust, static, timing, and sealing problems.
Changing material after the size trial
A different laminate may have different stiffness, thickness, friction, and sealing behavior. Review whether the earlier approval remains valid.
Optimizing the shelf pack but not the carton
The filled pouch and shipping carton should be developed together. A package that wastes freight space or suffers abrasion is not fully optimized.
Information to send for a size recommendation
Provide:
This information allows suppliers to compare the same requirement and reduces quotation revisions.
- Food type and product photograph
- Target net weight and fill tolerance
- Measured loose and settled bulk density
- Maximum piece size and relevant food characteristics
- Preferred pouch format and required features
- Filling method, equipment model, and nozzle or chute dimensions
- Fill and processing temperature
- Shelf-life target, storage, and distribution conditions
- Current package or benchmark sample, if available
- Quantity per SKU, number of artworks, destination, and delivery requirements
Frequently asked questions
What size pouch holds 500 g?
There is no universal 500 g pouch. Measure the product's bulk density, calculate its approximate volume, add functional headspace, select a format, and complete a physical fill test. A low-density snack may require much more space than 500 g of powder.
How much headspace should a pouch have?
It needs enough space for consistent filling, a clean seal, any gas process, normal variation, closures, and intended consumer use. The amount depends on the product and line; one percentage is not reliable for every application.
Does a larger gusset always increase capacity?
It increases potential volume, but the product must open and occupy the gusset. The resulting pouch must also remain stable, sealable, and manufacturable. Width, height, base geometry, seals, material, and fill distribution work together.
Can one pouch size be used for several foods?
Possibly, if fill tests confirm acceptable volume, headspace, stability, sealing, and presentation for every product. Validate the lowest-density, largest-piece, and most difficult-flowing SKU.
Should I send the supplier a product sample?
A sample can improve sizing when it is lawful, safe, stable, and practical to ship. Provide written product data as well because the sample may settle or change in transit.
When should final artwork begin?
Creative work can begin early, but final layout should use the approved production dieline after dimensions and features are stable. A change to the gusset, zipper, valve, or seals may require artwork revision.
Conclusion
Custom pouch sizing is an engineering and production task, not a simple weight-to-dimension lookup. A reliable process measures the actual food, defines usable volume and headspace, selects the pouch geometry, checks the opening and equipment limits, tests physical samples, and evaluates the filled package inside its shipping carton.
The best dimension is the smallest practical package that consistently fills, seals, protects, ships, displays, and serves the product as intended—not the smallest pouch that can contain one carefully prepared sample.
Validate the Pouch Size Before Approving Artwork
Share your product, target weight, bulk density, preferred format, filling equipment, required features, quantity by design, destination market, and delivery location. FULL PACKING will review the information and help define the next sample or quotation step.
Send Your Sizing Requirements | Compare Pouch Formats